Short on time or money this Thanksgiving? Or maybe just motivation given the overwhelming times we're living through.
Whatever's going for you this week, BK Reader is here to help you enjoy a low stress, low-cost Thanksgiving dinner these easy and cheap high flavor festive recipes.
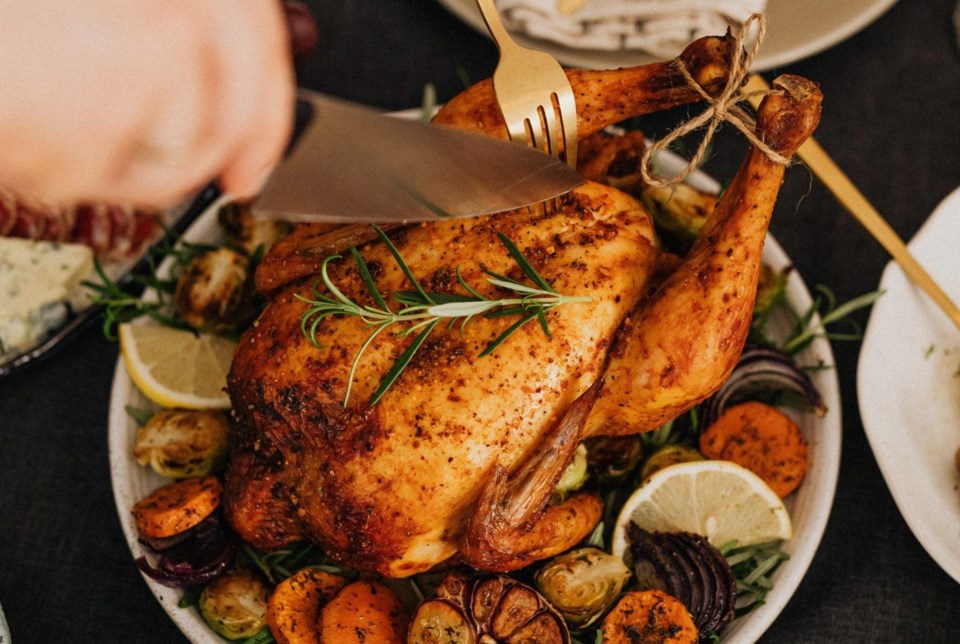
For the first instalment we're tackling the star of the show -- protein. And although it's not the traditional turkey, this roast bird won't disappoint with is crispy skin and succulent meat.
Ingredients
- 3½- to 4-pound chicken
- Salt
- 2 cups (475 ml) buttermilk
Preparation
- The day before you cook the chicken, remove the wingtips by cutting through the first wing joint with poultry shears or a sharp knife. Reserve the tips stock. Season the chicken generously with salt and let it sit for 30 minutes.
- Stir 2 tablespoons of kosher salt or 4 teaspoons fine sea salt into the buttermilk to dissolve. Place the chicken in a gallon-size resealable plastic bag (or double plastic shopping bag tied with twine if the chicken is too large) and pour in the buttermilk.
- Seal it, squish the buttermilk all around the chicken, place on a rimmed plate and refrigerate. Over the next 24 hours you can intermittently turn the bag so every part of the chicken gets marinated.
- Pull the chicken from the fridge an hour before you want to cook it. Preheat the oven to 425°F with a rack in the center position.
- Remove the chicken from the plastic bag and scrape off as much buttermilk as you can (there's no need to be obsessive about this step). Tightly tie together the legs of the chicken with a piece of butcher's twine. Place the chicken in a 10-inch cast iron skillet or shallow roasting pan.
- Slide the pan all the way to the back of the oven on the center rack and rotate it so the legs are pointing toward the rear left corner and the breast is pointing toward the center of the oven (the back corners are often the hottest spots, so this position should protect the breast from overcooking before the legs are done). Pretty soon you should hear the chicken sizzling.
- After about 20 minutes, when the chicken starts to brown, reduce the heat to 400°F and continue roasting for 10 minutes and then move the pan so the legs are facing the back right corner of the oven.
- Continue cooking for another 30 minutes or so, until the chicken is brown all over and the juices run clear when you insert a knife down to the bone between the leg and the thigh.
- When the chicken's done, remove it to a platter and let it rest for 10 minutes before carving and serving.


